Exterior Door Trim Replacement Services Overview
Visitors will learn how local contractors handle exterior door trim replacement projects and can compare options to find suitable service providers.
- - Homeowners seeking to enhance curb appeal with updated exterior door trim.
- - Property managers or landlords maintaining multi-unit buildings requiring trim replacements.
- - Commercial property owners upgrading storefront entrances to improve appearance and functionality.


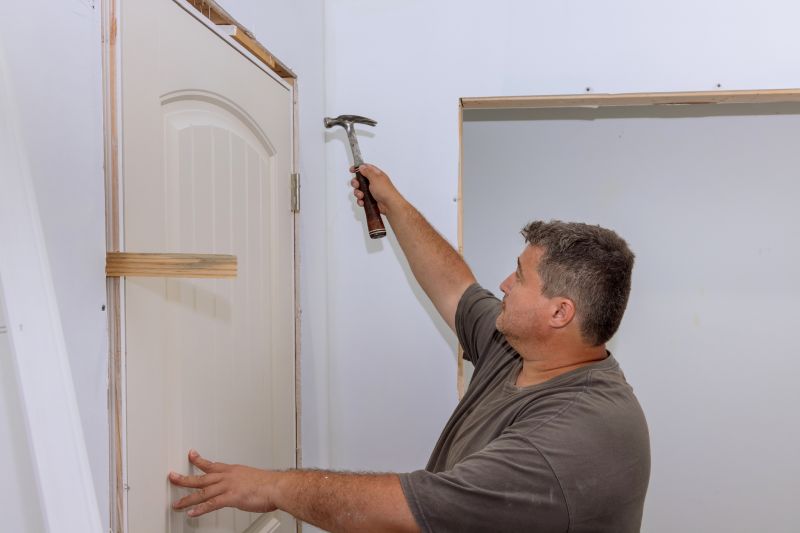
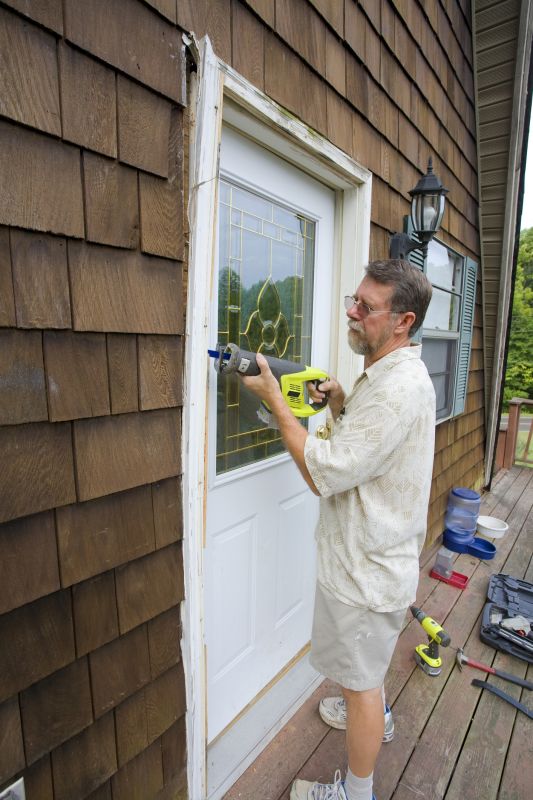
Exterior door trim replacement is a common service sought by property owners looking to improve the appearance and functionality of their entryways. This work typically involves removing worn or damaged trim around exterior doors and installing new trim pieces that enhance curb appeal, provide weather resistance, and improve overall door performance. Local contractors who specialize in exterior carpentry and door installation are equipped to handle these projects, whether it’s replacing aging trim, upgrading to more durable materials, or customizing designs to match existing architectural styles.
Connecting with experienced service providers ensures that the job is done properly and efficiently. Property owners seeking exterior door trim replacement can expect local pros to evaluate their specific needs, recommend suitable materials, and carry out the work with attention to detail. These professionals often handle a variety of related tasks, such as sealing and painting, to ensure the finished result is both attractive and long-lasting. Finding the right local contractor can make a significant difference in achieving a seamless and professional-looking upgrade.
This guide provides helpful information to understand the key aspects of exterior door trim replacement projects. It assists in comparing local service providers and understanding what to expect when connecting with contractors in your area. The focus is on empowering homeowners to make informed decisions and prepare for their project.